
ALL ABOUT SPIDER MITES
Spider mites are a type of arachnid that belong to the family Tetranychidae. Of the over 1,200 species of spider mites, two species are most commonly found on houseplants: the two-spotted spider mite and the European red spider mite.
Spider mites create fine webbing, on which they live and they lay their eggs. The webbing lifts spider mites off plant surface, protecting them from predators, humidity, and condensation, and allowing them to move around easily.
Spider mites do not like humidity; they have a bacteria in their stomach that overgrows and explodes them from the inside if they stay damp too long. However, this does not mean that spider mites will not live in high-humidity environments like greenhouses, nor that increasing humidity is an effective strategy to prevent or treat spider mites.
SPIDER MITE LIFE CYCLE
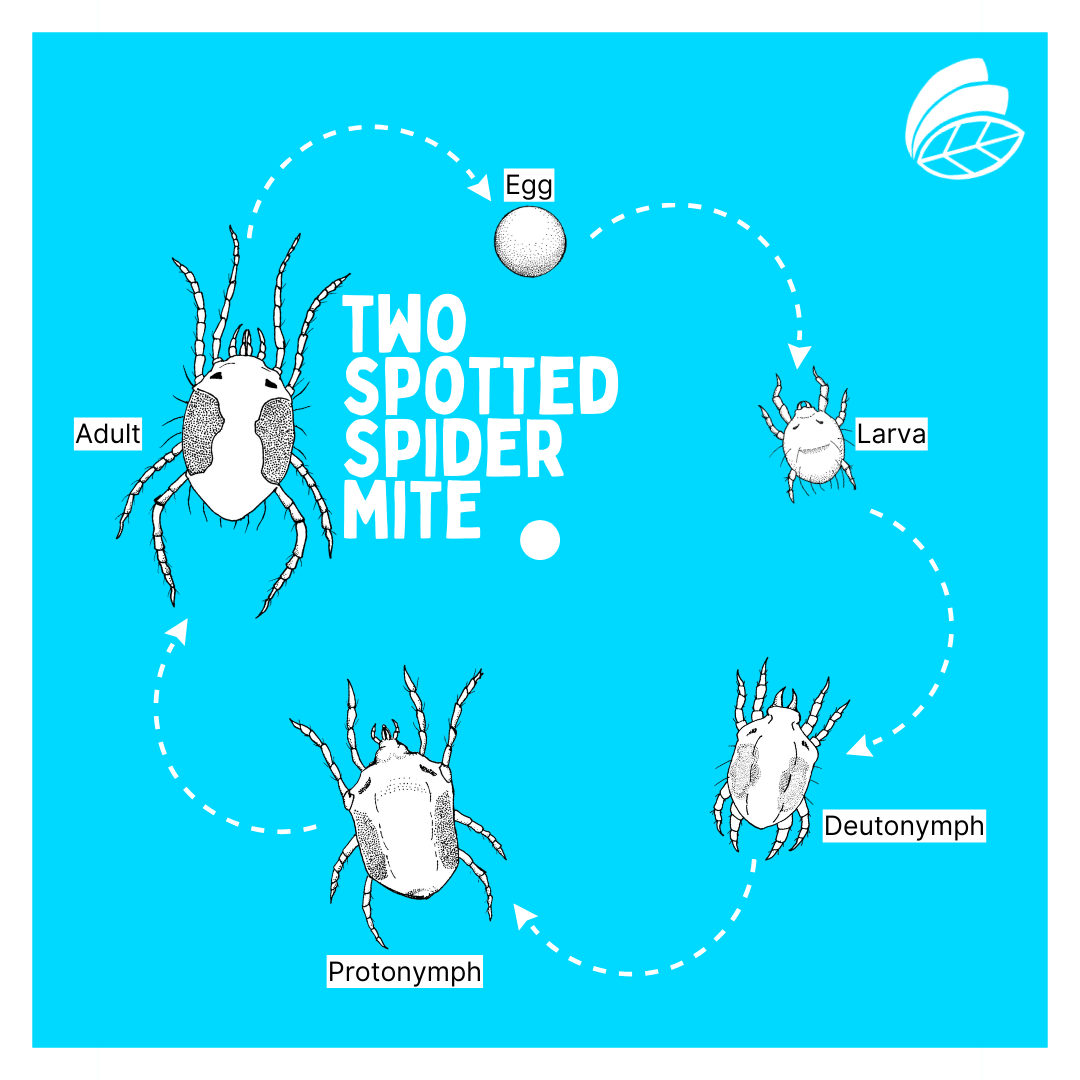
Spider mites can reproduce very quickly.
Understanding reproduction rates and the life cycle of plant pests informs the timing of pest management interventions. A good treatment plan ideally targets the pest at each stage in its development.
The spider mite life cycle can range anywhere from 9 to 45 days—the speed of their life cycle depends heavily on temperature and humidity.
Spider mites can go dormant in soil and substrate for extended periods of time without food or water. They are also capable of reproducing asexually.
Eggs typically hatch every three days.
Fun* Fact: Of all the common plant pests, Spider Mites may be the most resistant to common pesticides. In fact, many commercially available sprays and chemical interventions will cause their population to increase. More on pesticides and spider mites below.
*You may not find this fact meets your definition of “fun,” but it’s still important information.
WHAT SPIDER MITES LOOK LIKE
Spider mites are technically visible to the naked eye
—but just barely!
Adults are less than half a millimeter long, so they can be hard to spot if you’re not inspecting closely.
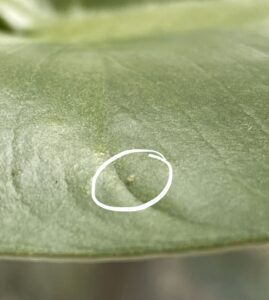
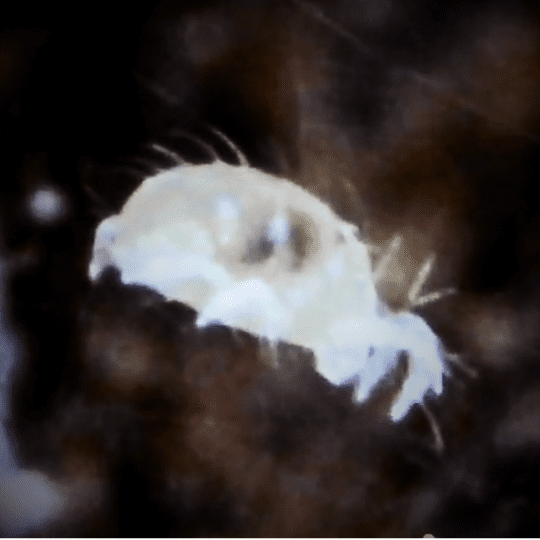
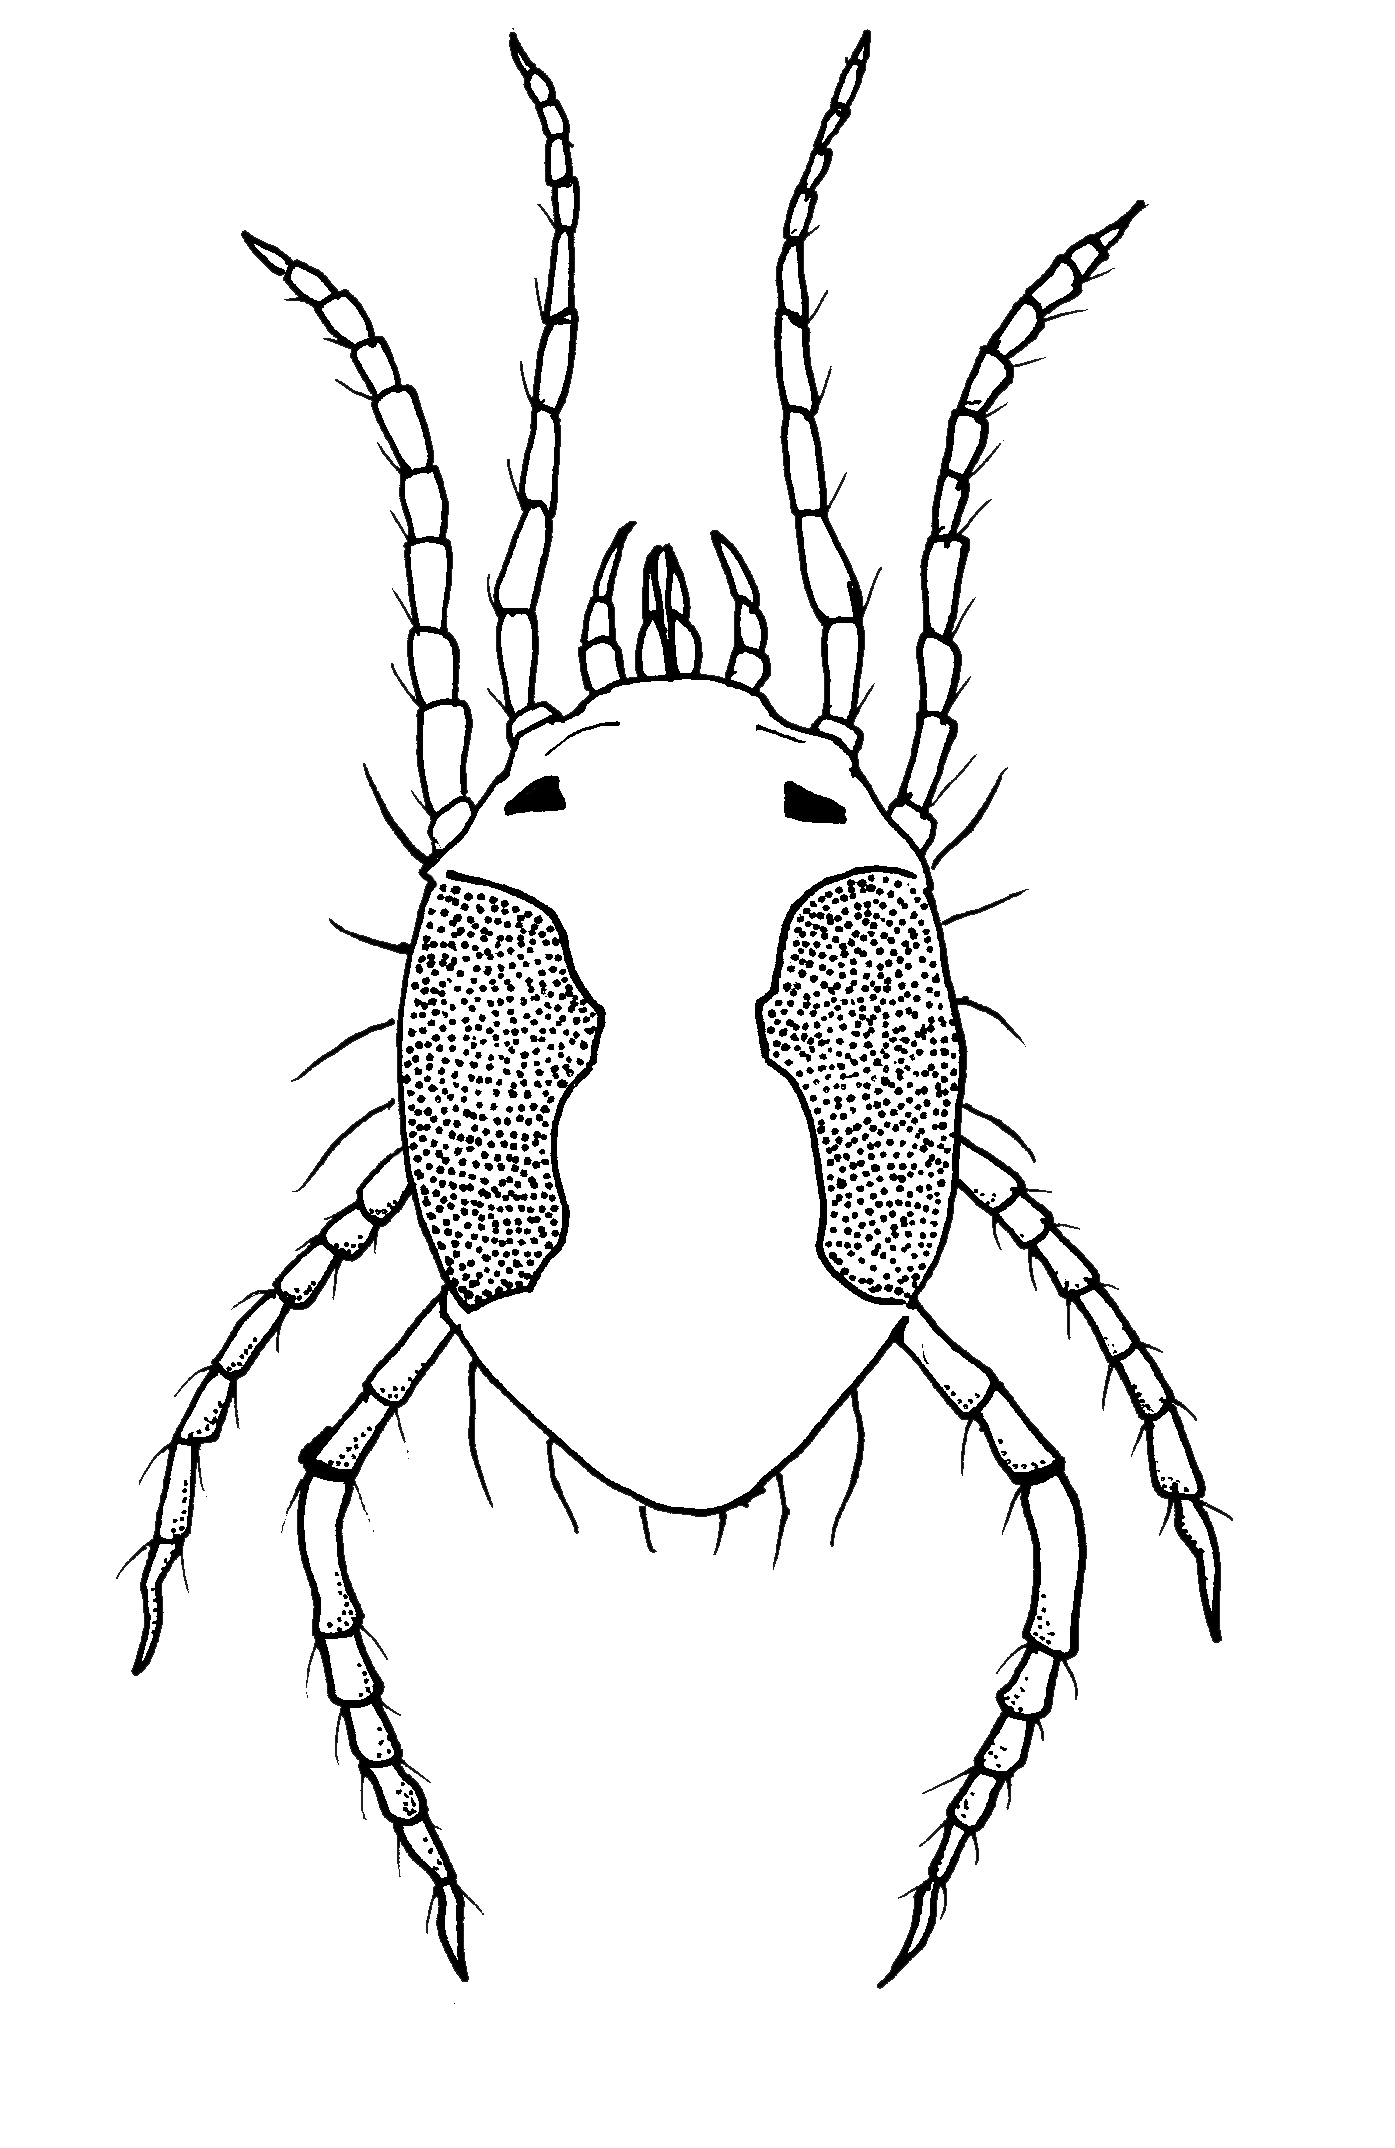
Two-spotted spider mite adults are semi-translucent with two dark spots on either side of their abdomen. (Can you guess where they got their name?)
INSPECTING FOR SPIDER MITES
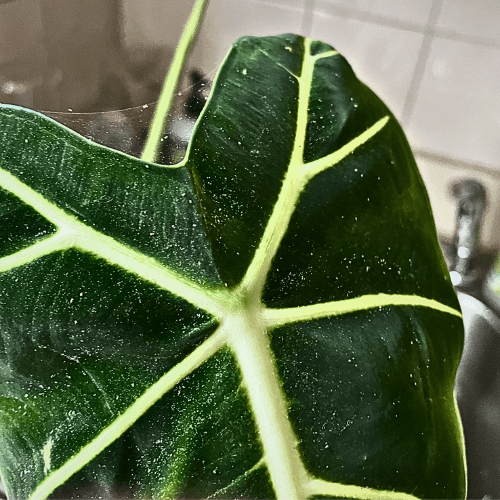
If you catch a spider mite issue early, it is likely you won’t see any webbing at all. Instead, you may see what looks like a fine white dust on the backs of the leaves—these are the spider mite eggs and shed skins.
In addition to seeing visible damage to the plant or eggs on the backs of leaves, the clearest sign of spider mites is the fine webbing they create. Spider mite webbing can appear anywhere on the plant, but often begins around the base of leaves or in between lobes of a leaf. On plants with extensive spider mite infestations, the webbing is very visible and can cover entire leaves or branches.
Important: Beneficial insects do not create webbing. If you’re treating spider mites using beneficials and see webbing appear (or reappear), that’s a sign you still have spider mites.
SPIDER MITE DAMAGE
Spider mite damage presents primarily as a speckling on a plant’s leaves. The leaves may not initially appear significantly damaged as compared with the damage caused by thrips, but the leaf color will start to appear muted and small white specks will appear across both the surface and at points where the stems meet the leaves. Eventually, this progresses to leaf yellowing or browning, dying leaves, and ultimately death of the entire plant.
While pests like thrips, aphids and mealybugs are referred to as “sap sucking pests” (because they pierce the leaves and suck out the plant juices), Spider Mites consume the surface leaf cells. This is what leads to the characteristic speckling damage and overall muting of the foliage that is indicative of spider mites.
Treatment Overview
A comprehensive, integrated pest management (IPM) plan for spider mites includes two equally important components:
- Manual rinsing and removal of pests.
- Predators to manage various life stages.
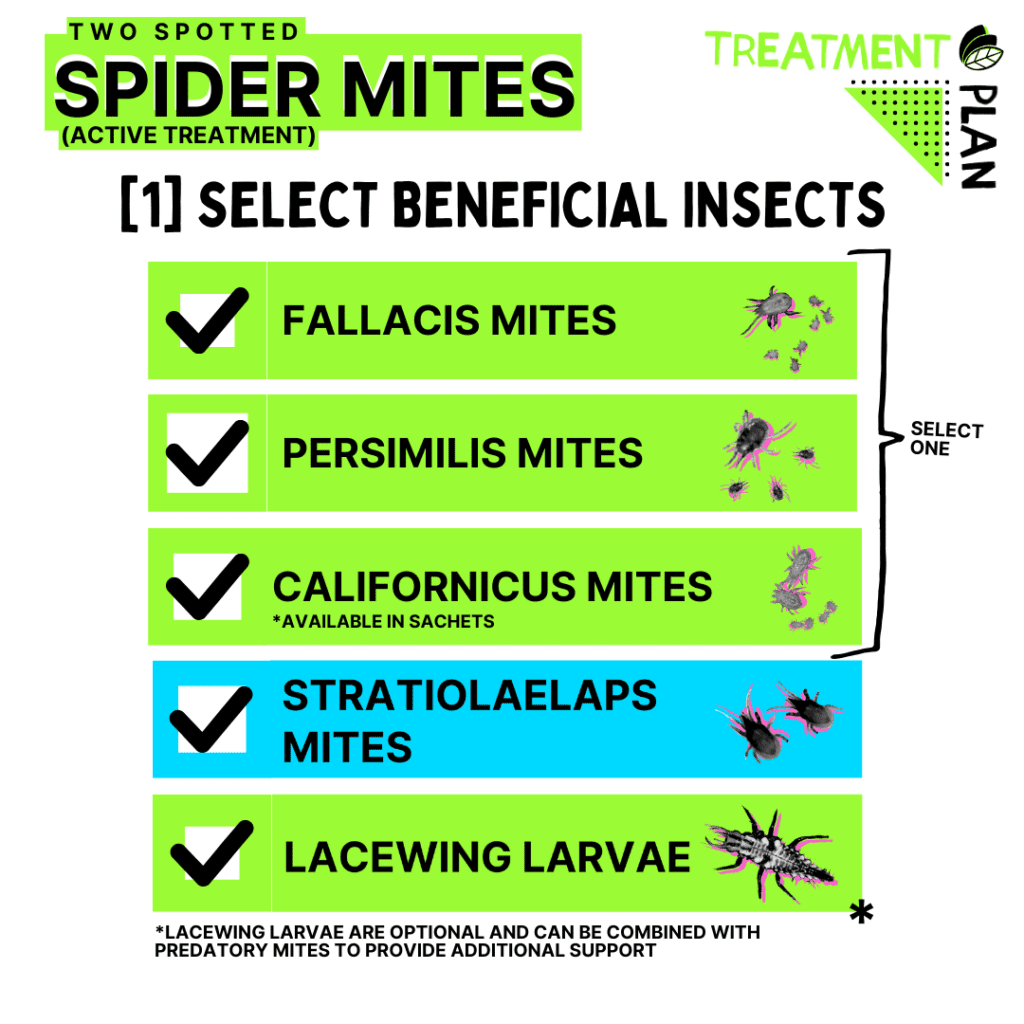
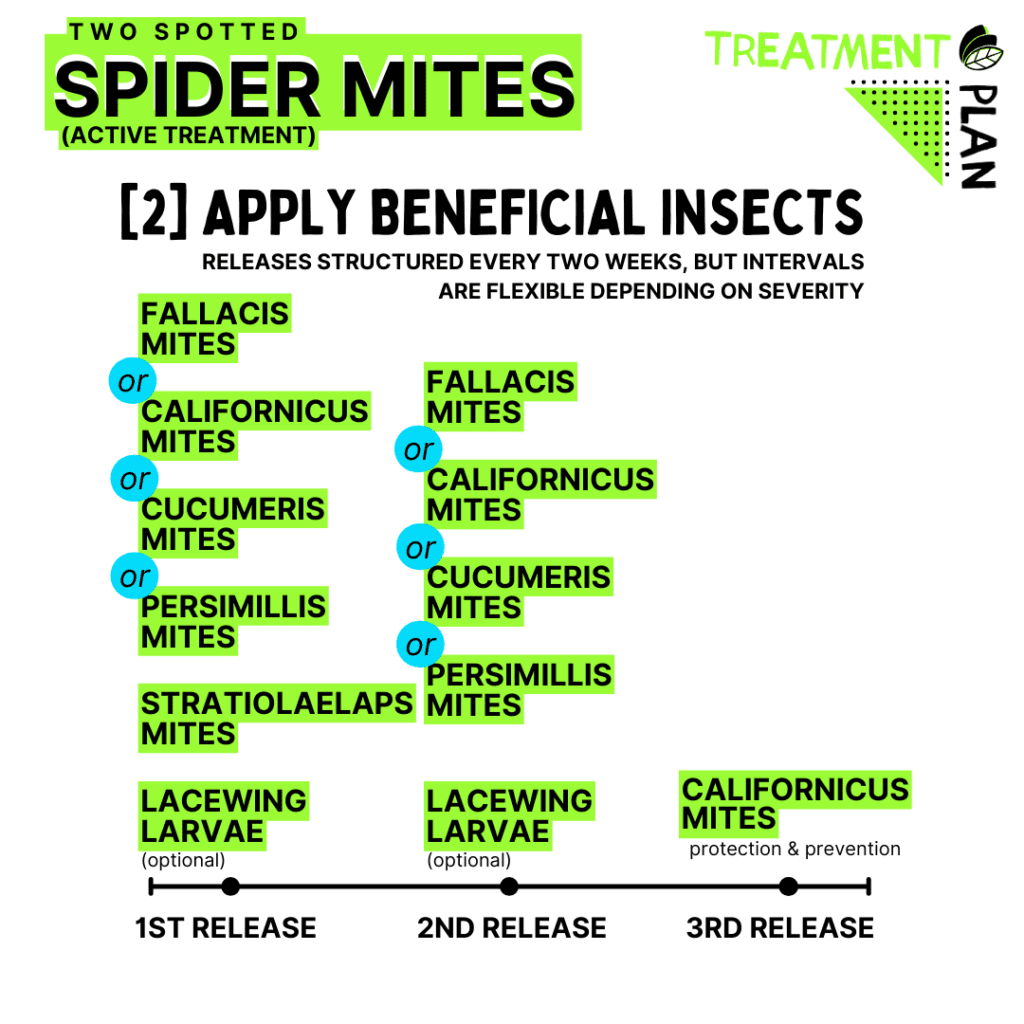
For the foliage: Persimilis, Californicus, or Fallacis (see below for how to decide which one to use)
For the growing medium: Stratiolaelaps mites


For active infestations, release beneficial mites every two weeks for 2–3 treatments in combination with removing visible webbing and Spider Mites as you see them.
Manual Rinsing and Removal
The first step is to simply rinse off and remove the spider mites, eggs and webbing with water. Depending on the size and type of plant, this can be done using a strong jet of water or a wet cloth—ideally both.
When spraying your plant with water, make sure to spray at an angle that avoids the growing medium. You want to wash your spider mites down the drain, not into your growing medium where they can just crawl back up onto your plant.
Follow up by using a wet cloth or paper towel to remove all the sticky eggs. Spider mite eggs hatch every three days, so we recommend wiping your plant down every two days until your beneficial insects arrive. Doing so will make a huge difference in the speed and effectiveness of your beneficial insect treatment.
This manual removal with water—also referred to as “population knockdown”—is an essential part of IPM. Skipping this step is a common mistake that hinders the ability for beneficial insects to be effective and results in a longer-lasting, potentially more widespread infestation. This is especially true for spider mites, whose webbing provides some protection against predators and should be removed before releasing beneficial insects.

Here’s how we recommend manually removing Spider Mites (before releasing beneficial insects):
- As soon as you notice Spider Mites on a plant, isolate it from any other plants.
- Check neighboring plants for Spider Mites or signs of Spider Mites.
- Manually rinse and wipe down the plant to remove visible Spider Mites, webbing, and eggs.
- Order beneficial insects (see below for which ones).
- Continue to wipe down your plant with water every 2-3 days until your beneficial bugs arrive.
- On the day your beneficial bugs arrive, wipe down your entire plant once more before applying the beneficials.
Selecting Beneficials
For the Foliage
The beneficial mites that work best for treating spider mites are persimilis mites, californicus mites, and fallacis mites. To figure out which one to use, you’ll want to consider a few factors, including humidity, temperature, the type of spider mite you’re trying to eliminate, and how extensive the infestation is.
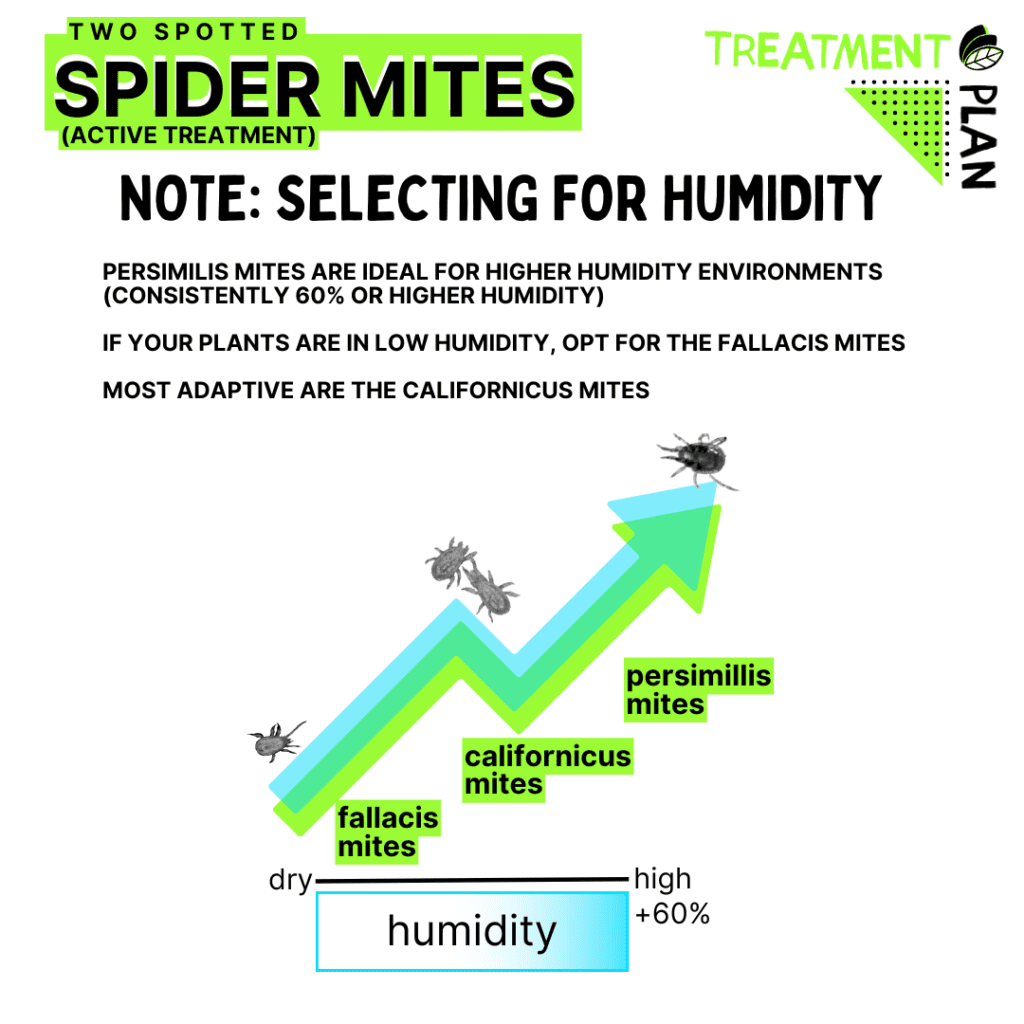
Persimilis mites are the industry standard for Two-Spotted Spider Mites. In fact, they only eat Two-Spotted Spider Mites, and they do so quickly. Sounds great, right? Yes, but consider a few other factors before using Persimilis Mites to treat your Spider Mite issue:
- Persimilis Mites prefer humidity of 60% or higher. This means they may not work as well for plants in ambient humidity (i.e., your standard home environment).
- They need a lot of food (i.e. Two-Spotted Spider Mites) to stay alive. If you have a small Spider Mite population, they may not live long enough to finish off all the eggs as they hatch.
- They only eat the Two-Spotted Spider Mites. If you have a different species of Spider Mite or aren’t sure of the species, Persimilis won’t be effective.
Californicus Mites and Fallacis Mites are both good mid-range options for the average Spider Mite issue on houseplants. If you’re deciding between Californicus and Fallacis Mites, consider these factors:
- Humidity: Californicus are a bit more flexible, tolerating a range of humidity levels (anywhere between X% and Y%). Fallacis mites are not as flexible and are ideal for drier, ambient humidity levels (below 40%).
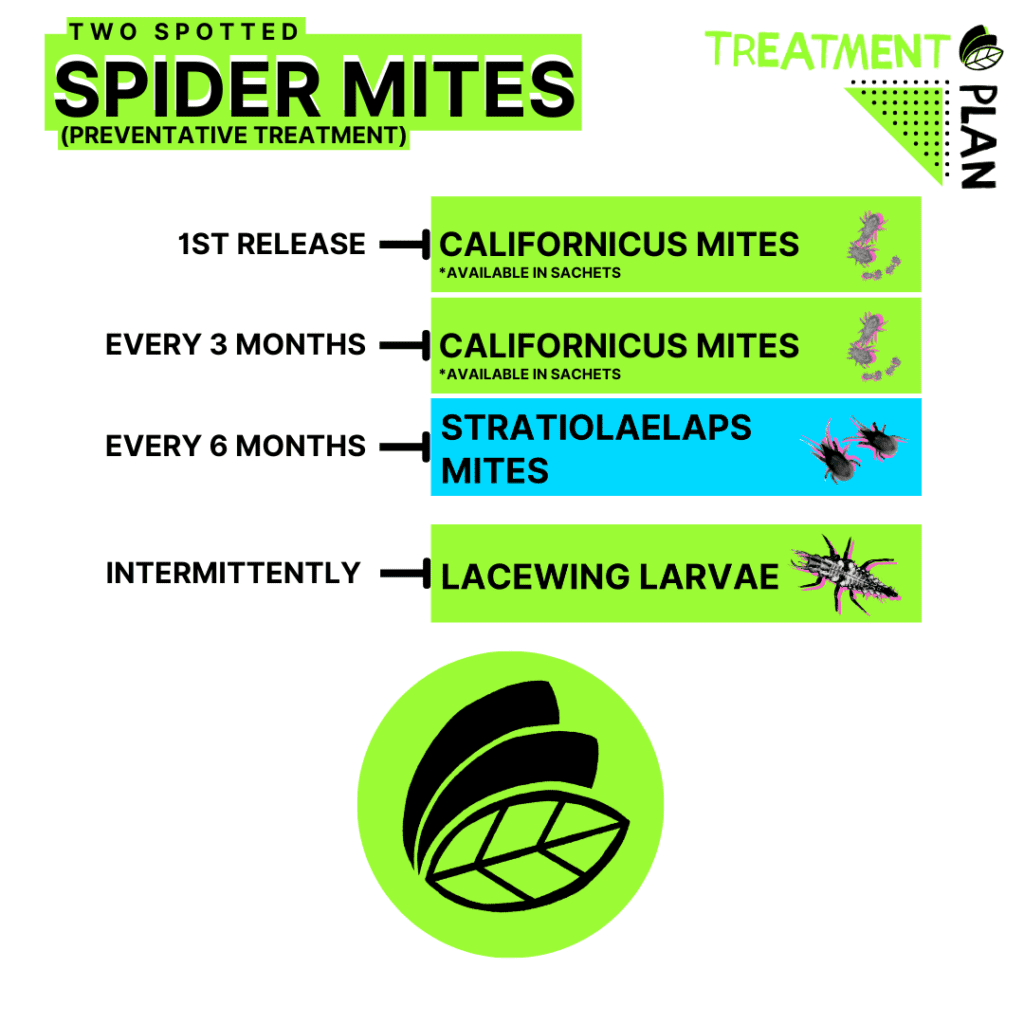
- Availability: Californicus are available in both bottle (bulk release) and sachets (slow release). Fallacis are only available in a bottle (bulk release).
- What they eat in addition to Spider Mites: Californicus are the best beneficial for Flat Mites, which commonly infest among Hoya and Anthurium but are not visible to the naked eye. If you have a lot of these types of plants, we recommend Californicus mites.
- Fallacis are good against Citrus Mites (colloquially referred to as “Red Spider Mites”). If you know this is the Spider Mite species you’re dealing with, use Fallacis Mites.
For the Growing Medium
Releasing beneficials to target pests within the growing medium is particularly important for Spider Mites, which can “overwinter” in a state of suspended development known as diapause. In fact, recent studies have shown that Spider Mites can sense the presence of predators and enter diapause as a defense mechanism.
Stratiolaelaps scimitus mites are an excellent soil predator that target plant pests who live all or part of their lives in the soil or substrate. What’s more: Stratiolaelaps are effective for both soil and semi-hydro growing setups. Stratiolaelaps should live up to eight weeks in ideal conditions, so you generally only need to release them with your first release.
Optional Add-On: Lacewing Larvae
If it’s in your budget, you can also release Lacewing Larvae periodically to help keep spider mite populations down. While they are not a targeted Spider Mite predator like the beneficial mites recommended above, Lacewing Larvae love to eat Spider Mite eggs and can provide support to treat or prevent Spider Mites.
Why Pesticides Do Not Work on Spider Mites (and often make them worse)
It’s very difficult to treat spider mites with synthetic pesticides. Insecticides do not work against spider mites because they are mites, not insects. Spider mites also develop resistance to commercial miticides very quickly, rendering those ineffective as well.
Avoid these ingredients when treating Spider Mites:
Systemic imidacloprid.
This is the active ingredient in Bonide Systemic Granules, and it does not work on spider mites. In fact, it has been scientifically proven to increase their populations, even when applied to plants with no existing spider mites. We strongly recommend against using this product. Click here for more information on systemic imidacloprid. DMVb recommends not using this product.
Pyrethrins, Permethrins, or Bifenthrin.
Application of these chemicals has also been shown to cause spider mite populations to increase. Be sure to check the labels of plant care products and avoid ones with these ingredients.
Common Mistakes When Treating Spider Mites
- Not wiping or rinsing off a plant to manually remove spider mites, eggs, and webbing before releasing beneficial insects.
- Not scouting and manually removing webbing and eggs while treating (you and your predators are a team!).
- Not checking nearby plants when you find evidence of mealybugs on a plant.
- Treating only the foliage, and not the soil, where spider mites can overwinter.


